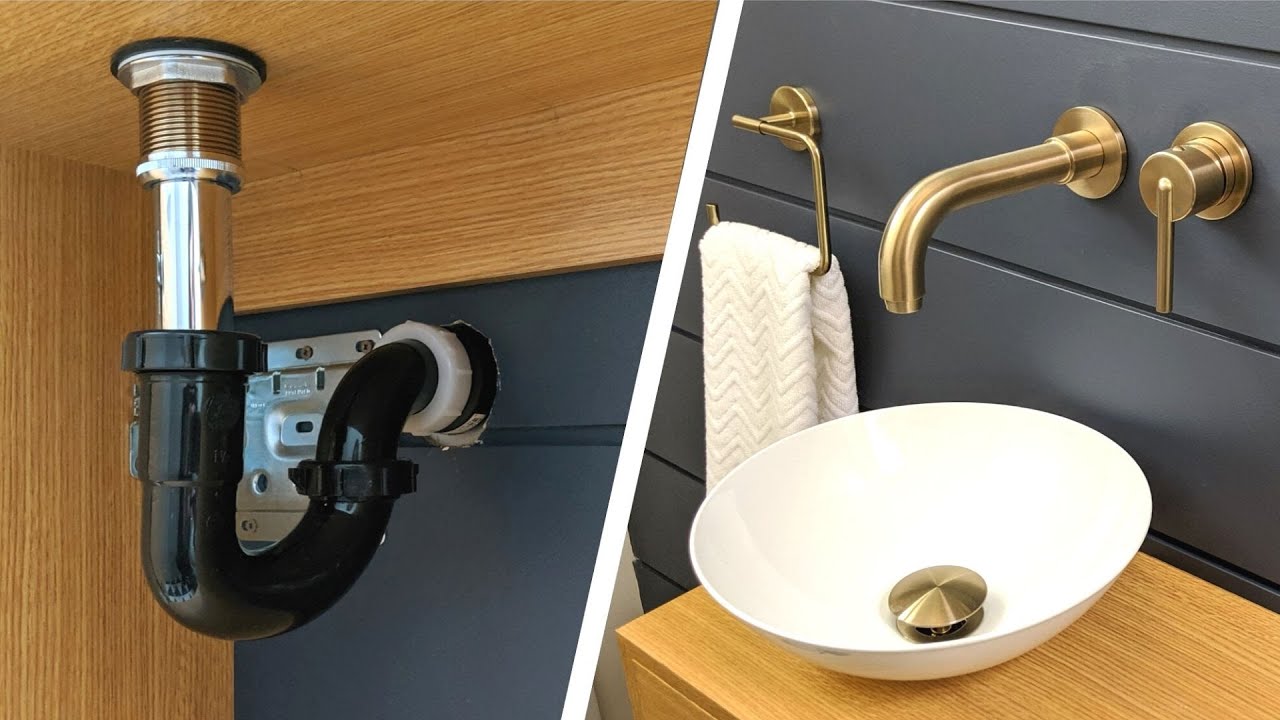
Installing a new bathroom sink plumbing system can be a rewarding DIY project, potentially saving money and enhancing your home’s functionality. However, it requires a clear understanding of the process and the necessary tools to ensure a successful installation. This guide will walk you through the essential steps of installing a bathroom sink plumbing system, providing tips and best practices along the way. For those seeking professional guidance, you can discover expert strategies here.
Gathering the Necessary Tools and Materials
Before beginning the installation, it is crucial to have all the required tools and materials at hand. This preparation will make the process smoother and more efficient.
- Adjustable wrench
- Plumber’s putty
- Teflon tape
- Pipe wrench
- Hacksaw
- Bucket
- P-trap kit
- Flexible water supply lines
- New sink and faucet
These tools and materials are essential for a successful installation. If you’re unsure about the exact specifications needed for your project, learn about our tailored solutions that can guide you further.
Removing the Old Sink and Plumbing
Removing the existing sink and plumbing is a critical step that requires care to avoid damage to existing pipes and fixtures.
- Turn off the water supply to the sink.
- Detach the water supply lines from the faucet using an adjustable wrench.
- Place a bucket under the P-trap to catch any water, then remove the P-trap and drainpipe.
- Unscrew the sink clips and carefully remove the old sink.
This step-by-step process ensures a clean removal without unnecessary complications. For more detailed instructions, you can explore advanced guides and tips.
Installing the New Sink and Plumbing System
Setting Up the Sink
Positioning and securing the new sink is the first part of the installation process.
- Apply plumber’s putty around the sink’s edge to ensure a watertight seal.
- Place the sink into the countertop opening and secure it with sink clips.
- Install the faucet according to the manufacturer’s instructions.
Connecting Water Supply Lines
Properly connecting the water supply lines is crucial to prevent leaks and ensure efficient water flow.
- Attach the flexible water supply lines to the faucet, ensuring the connections are tight.
- Wrap Teflon tape around the threads of the water supply valves to prevent leaks.
- Connect the other end of the supply lines to the shut-off valves.
Installing the Drain and P-Trap
The drain and P-trap are vital components that must be installed correctly to allow proper drainage.
- Insert the drain tailpiece into the sink’s drain hole, securing it with the provided nut.
- Attach the P-trap to the drain tailpiece and connect it to the wall drain pipe.
- Ensure all connections are tight to prevent leaks.
For a comprehensive understanding of this process, find out more about this approach to sink plumbing installation.
Testing the New Plumbing System
Once the installation is complete, it’s essential to test the system to identify any potential issues.
- Turn on the water supply and check for any leaks around the faucet and supply lines.
- Run water through the sink and check for leaks in the drain and P-trap.
- Adjust any connections as necessary to ensure they are watertight.
Testing the system thoroughly will help ensure long-term functionality and reliability. For additional resources on maintaining your new plumbing system, explore advanced guides and tips.
By following these steps, installing a new bathroom sink plumbing system can be a successful and rewarding project. For those seeking further assistance or professional support, diving deeper into available resources and expert advice ensures a seamless experience.
About the Author


